 Try ShortPoint now
Often, when building a SharePoint site, people tend to focus on the big things. But what truly sets a great intranet apart are the little things that make the biggest difference. While big banners and bold headers grab attention, the way you handle fine print, captions, and secondary details defines the professionalism of your page.
This is where the ShortPoint Small Design Element comes in! It's a simple yet powerful text formatter designed to give your text a refined, subtle look without losing readability. In this article, we’ll explore what this element is, how to use it, and some clever ways to implement it on your SharePoint web pages.

TABLE OF CONTENTS
- Prerequisite
- What is the Small Design Element?
- Interactive Tutorial
- Step-by-step Tutorial
- Small Features
- 4 Practical Use Cases
- Start Designing with the Small Design Element
- Frequently Asked Questions
Prerequisite
- You have the latest version of ShortPoint SPFx installed on your SharePoint environment.
- You are a ShortPoint Designer with an active license.
What is the Small Design Element?
The Small Design Element is a specialized element within the ShortPoint Page Builder. Its primary purpose is to render text in a smaller, lighter font style compared to your standard paragraph text, ensuring a readable format despite the smaller font size.
Instead of manually struggling with HTML code, font size dropdowns, or other text formatting options that might break your site’s consistency, the Small element ensures that secondary information looks intentional and clean. It’s fully responsive and integrates seamlessly with ShortPoint’s "Connect" feature, allowing you to pull "small" text dynamically from SharePoint lists or other data sources.
Interactive Tutorial
Click Get Started to learn how to customize the Small Design Element:
NOTECheck out Small Features to learn more about the OOTB options you can customize.
Step-by-step Tutorial
Follow the steps below for a detailed guide on how to customize the Small Design Element:
Step 1: Edit the ShortPoint Web Part
- Go to the SharePoint page you want to use and click Edit.

- Click the ShortPoint tag.
- Select the pencil icon.
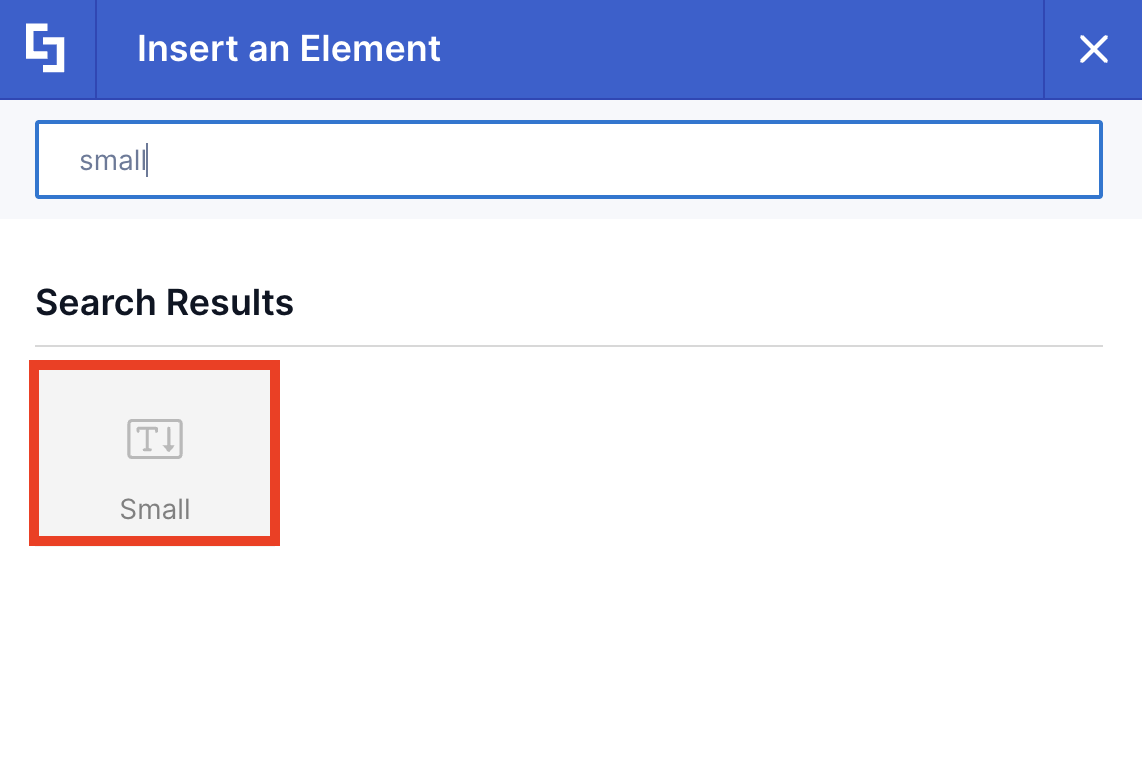
Step 2: Insert the Small Design Element
- Click the plus icon.
- Use the search box to look for Small and click it.
Step 3: Add Content
- Add Small Content.
- Once done, click the green check mark.
Step 4: (Optional) Add Text Design Element
NOTEYou have the option to insert regular Text after your Small content. Follow along to learn how.
- Click the plus icon.
- Use the search box to look for Text and click it.
- Edit the content and the look of the Text Design Element according to your needs.
- Once satisfied, click the green check mark.
Step 5: Save
- Then, click the eye icon to see your page in real-time.

- Click Save to apply all your changes.

Congratulations! You can now format text using the Small Design Element, a powerful yet simple tool that enhances your SharePoint page by applying a clean and readable style to secondary text.
Small Features
Below are the options you can find in the Small Settings window:
A. Content tab
The Content tab allows you to add Small Content.

B. Connect Tab
The Connect tab allows you to link the Design Element to SharePoint sources (List, Document Library, News, etc.) and other external sources (Microsoft Graph API, Teams, Outlook, etc.). For more details about ShortPoint Connect, check out Basic Tutorial: How to Establish Seamless SharePoint Connection with ShortPoint Connect.

C. Visibility Tab
The Visibility tab allows you to specify who can see the Design Element and what type of devices it can be shown on. For more details, check out How to Use the ShortPoint Visibility Feature for Effective SharePoint Access Management.

D. Custom CSS Tab
This tab allows you to use your own CSS, HTML, and Javascript code to customize the Small Design Element.
NOTECheck out our support article on How to Insert Custom CSS into a ShortPoint Design Element (Basic Tutorial) to know more about Custom CSS.

4 Practical Use Cases
How can such a tiny element impact your site? Here are four ways to put it to work:
Image Captions and Photographer Credits
When you have a beautiful hero image or a gallery, you don’t want the credit line to compete with the visual. Using the Small element allows you to place "Photo by [Name]" or a brief description directly under the image in a way that is legible but unobtrusive, maintaining a clean structure.
Legal Disclaimers and Footnotes
Every corporate site has them—those necessary lines about "Terms and Conditions" or "Prices subject to change." Using the Small element at the bottom of a section keeps this mandatory info present but tucked away, so it doesn't distract from your main call to action.
Timestamping News and Updates
If you are displaying a list of company news, you can use the Small element to show the "Published on" or the "Estimated Reading Time." This creates a clear visual hierarchy, telling the user's eye that the headline is the most important part, while the metadata is secondary, improving readability in any browser.
Inline "Byline" for Articles
For internal blogs or knowledge base articles, you can use the Small element immediately following a Heading. It’s perfect for adding "Written by the HR Team" or "Last updated: October 2023" right below a title, ensuring a clean text format.
Start Designing with the Small Design Element
Great design is about balance. By using the ShortPoint Small Design Element for your SharePoint web pages, you gain control over the hierarchy of your information. It allows your important messages to stand tall while ensuring the necessary details are exactly where they need to be.
Already a ShortPoint Designer? Just head to your ShortPoint Web Part, hit the plus icon, and search for "Small" to start refining your site today!
Want to give it a try? If you're new to ShortPoint, you can start a FREE 15-day trial with us or book a walkthrough with one of our experts. We'll show everything you need to know about the Small Design Element and more.
Frequently Asked Questions
Can I use the Small element inside other elements?
Absolutely! You can place a Small Design Element inside rows, columns, or even use it in conjunction with the Text element to create varied typography within a single block.
Does it support dynamic data?
Yes. Through the Connect tab, you can map the Small element to any text field in a SharePoint List or Library. This is great for automatically displaying file sizes or document versions in a small format.
How do I change the color of the text?
While the Small element has a default style to match your theme, you can further customize its appearance using the Custom CSS tab if you want a specific brand color or a different opacity.
Is it mobile-friendly?
Yes, ShortPoint elements are built to be responsive. The Small element will scale appropriately so that it remains readable on mobile devices without becoming microscopic.
Related articles:
