Try ShortPoint now
This tutorial will demonstrate how to add a weather widget to your SharePoint page using the ShortPoint Code Design Element.
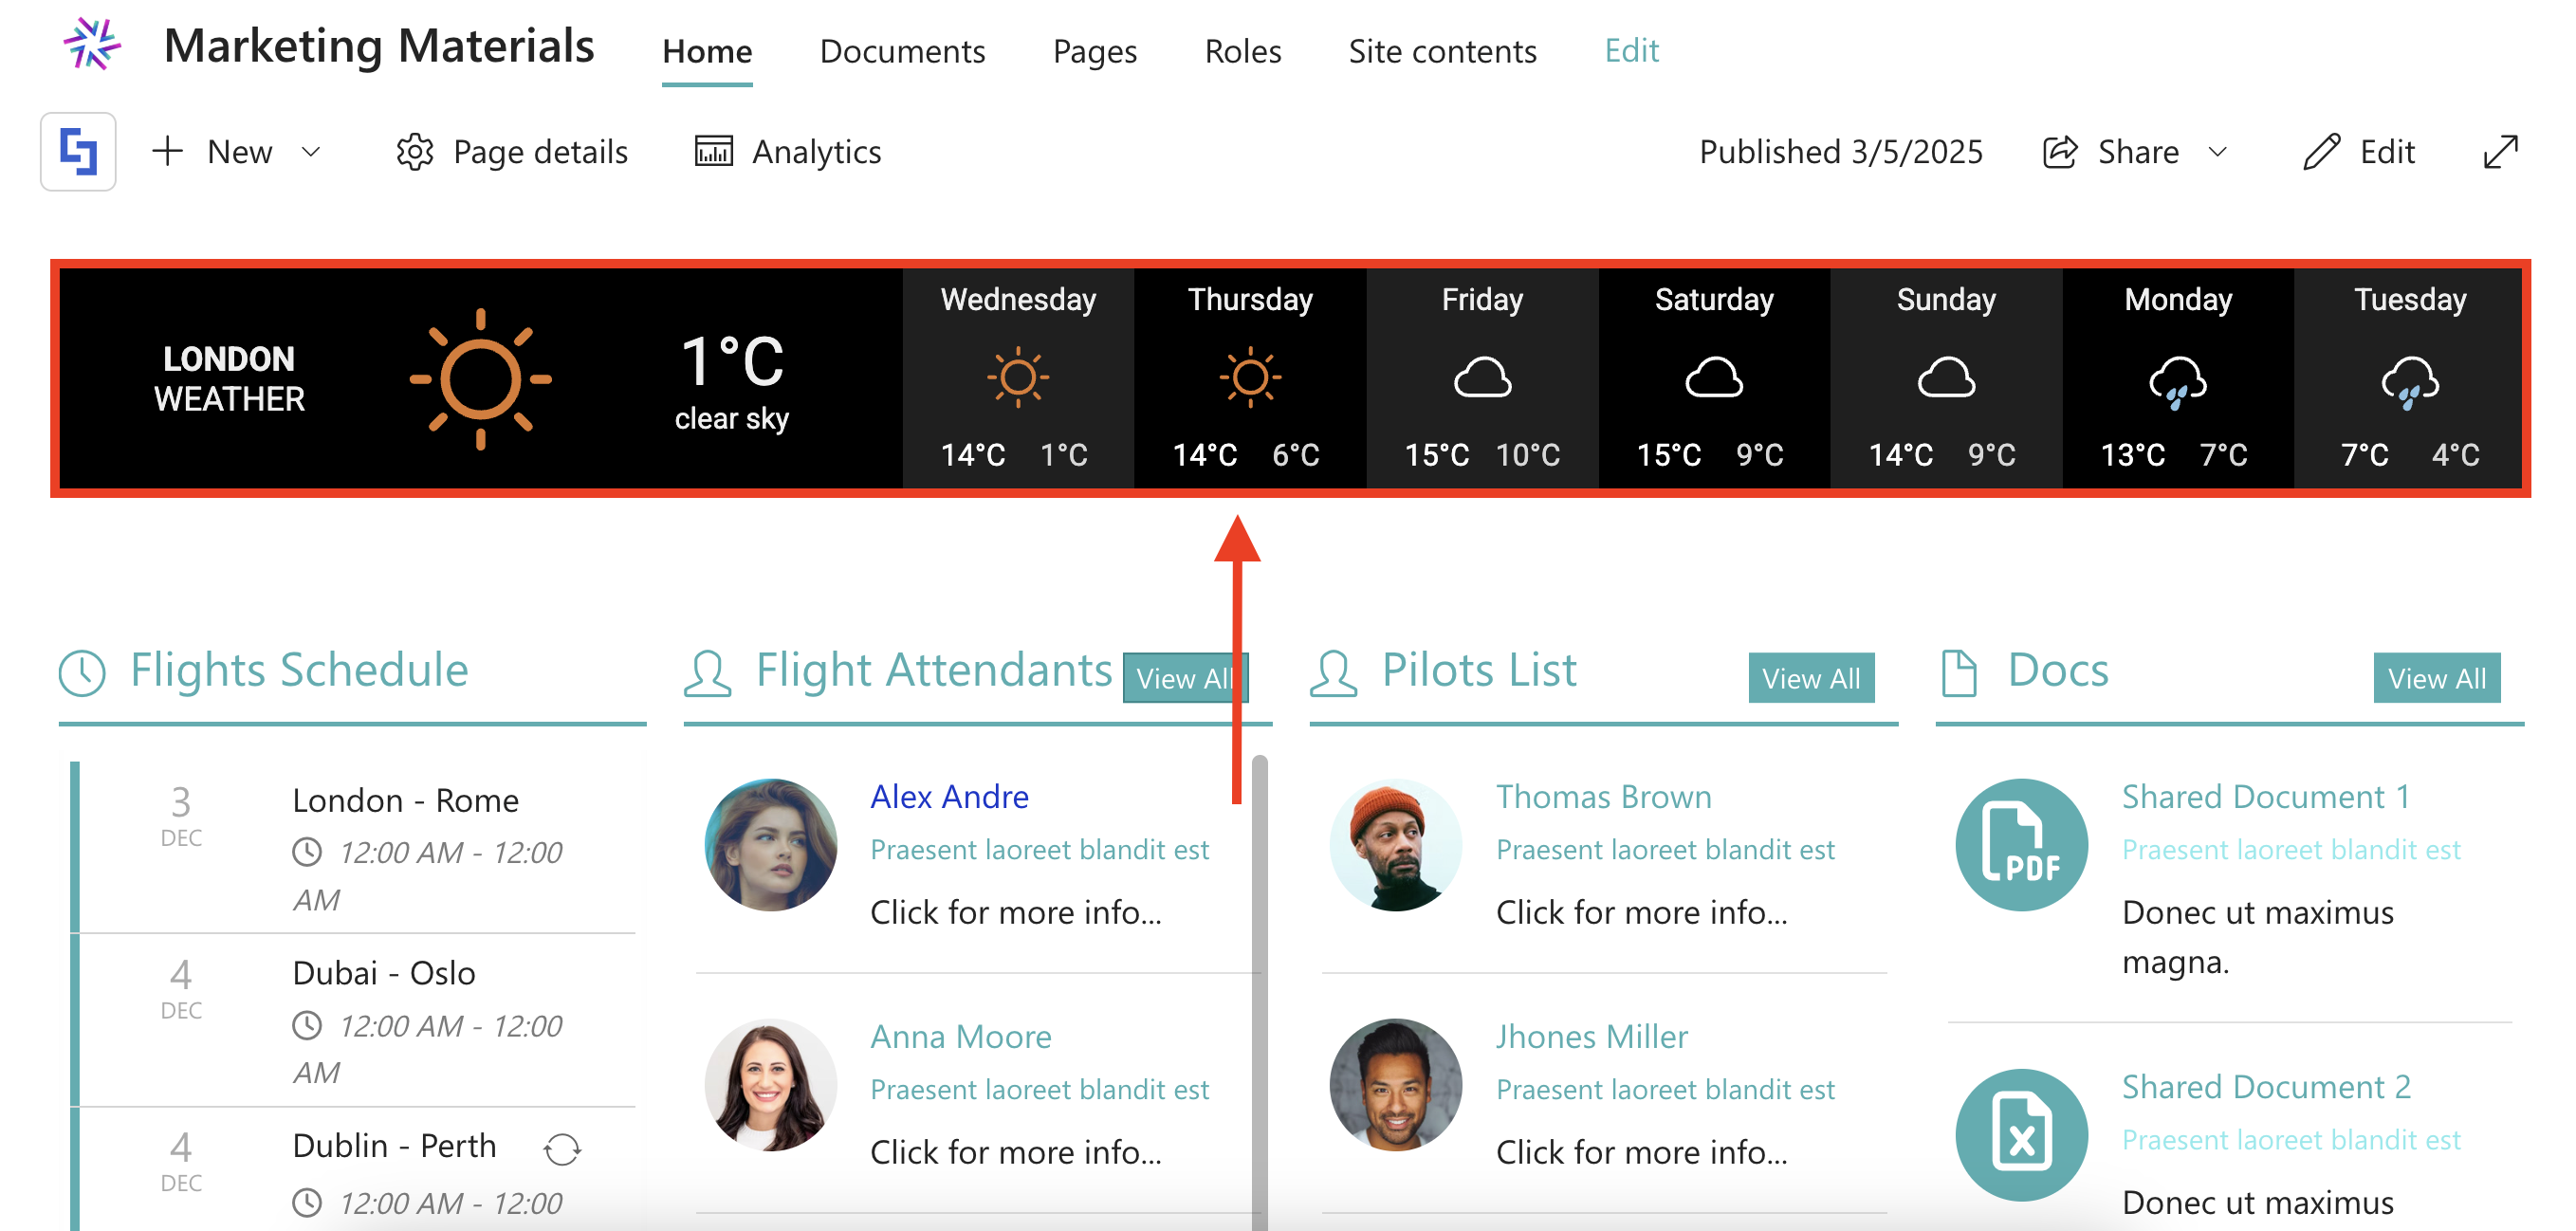
Quick Walkthrough
- Copy the embed code of the weather widget you want to add to your page.
- Edit the ShortPoint Web Part.
- Click the plus icon and insert the Code Design Element.
- Paste the code in the HTML field.
- Click the green check mark to apply your changes.
- Click Save to keep your changes.
TABLE OF CONTENTS
Prerequisites
- You must have the latest version of ShortPoint SPFx installed in your SharePoint environment.
- You must be a ShortPoint Designer with an active license.
Interactive Tutorial
Start the interactive tutorial to learn how to add your weather widget:
NOTEYou may use any weather widget you want. But for this guide, we will be using weatherwidget.io.
Step-by-step Tutorial
Follow the detailed guide to learn how to embed a weather widget:
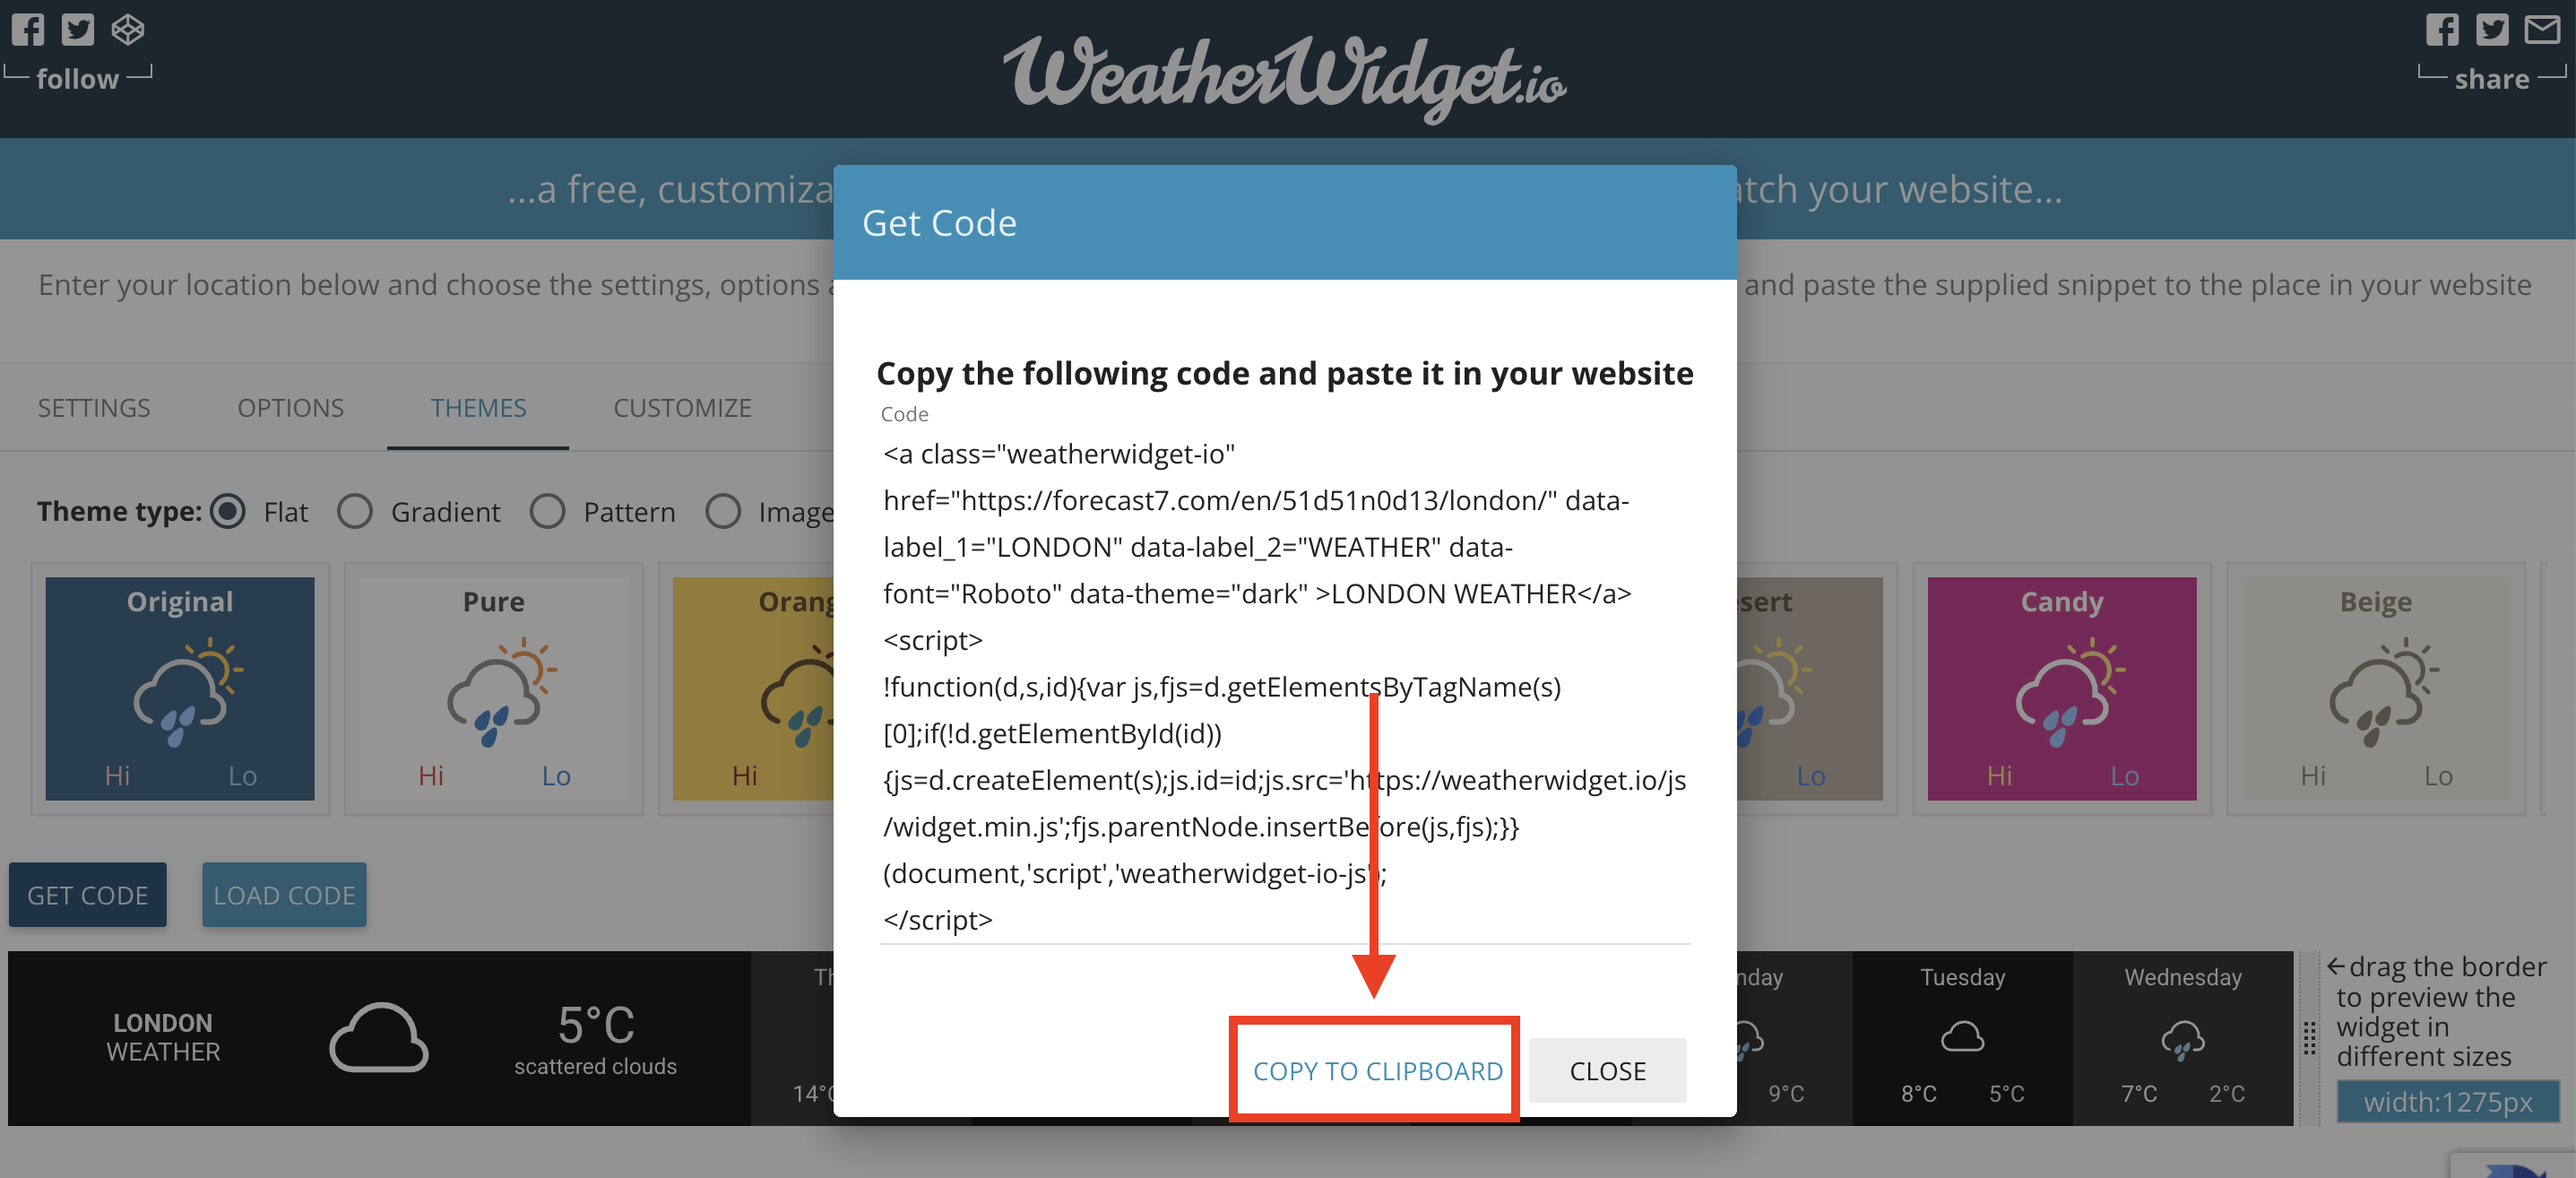
Step 1: Copy the Embed Code
- Copy the embed code of your chosen weather widget:
NOTEDifferent customizations apply depending on the weather widget you’ll use. For this guide, we will be using weatherwidget.io.
Step 2: Edit the ShortPoint Web Part
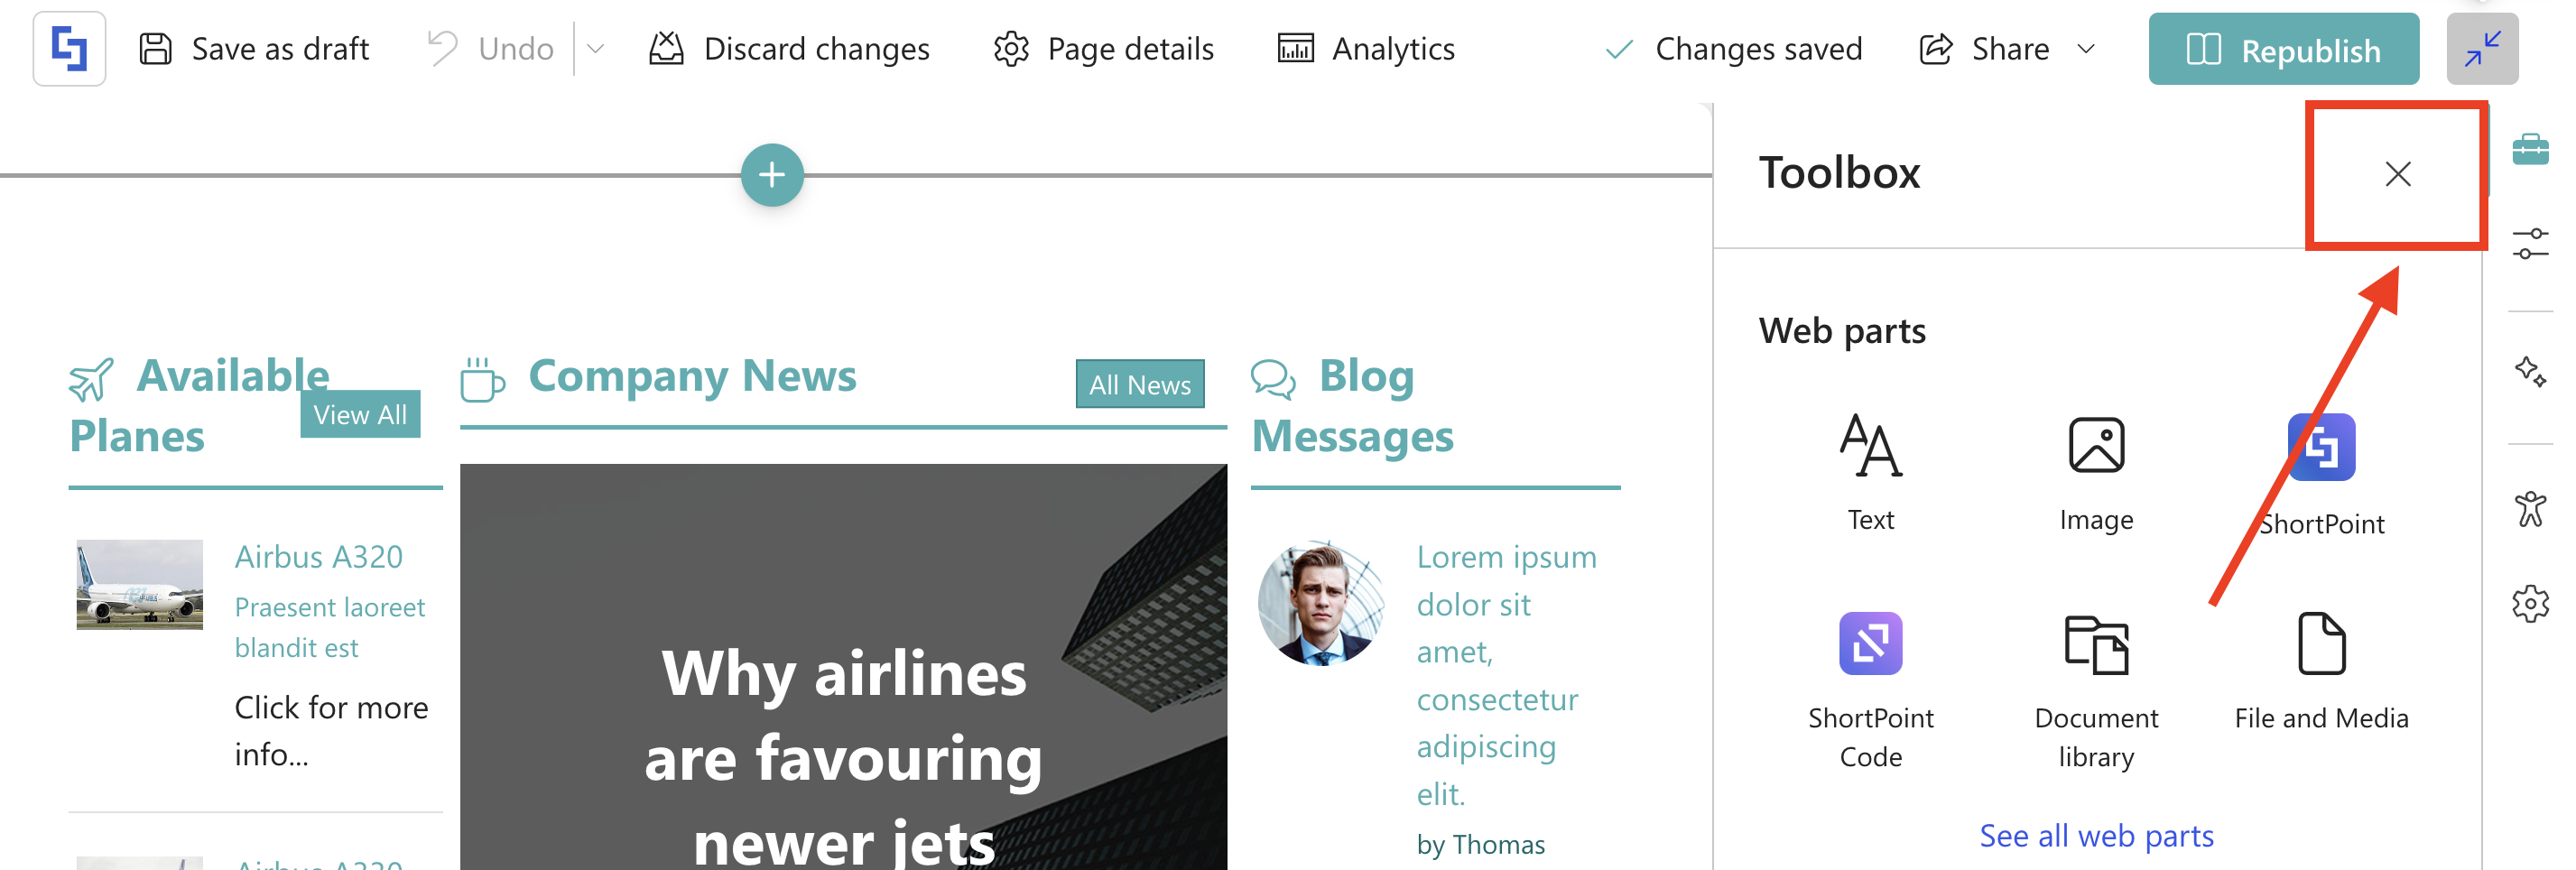
- Go to the SharePoint page you want to use and click Edit:

- Click the close icon to leave the Toolbox:
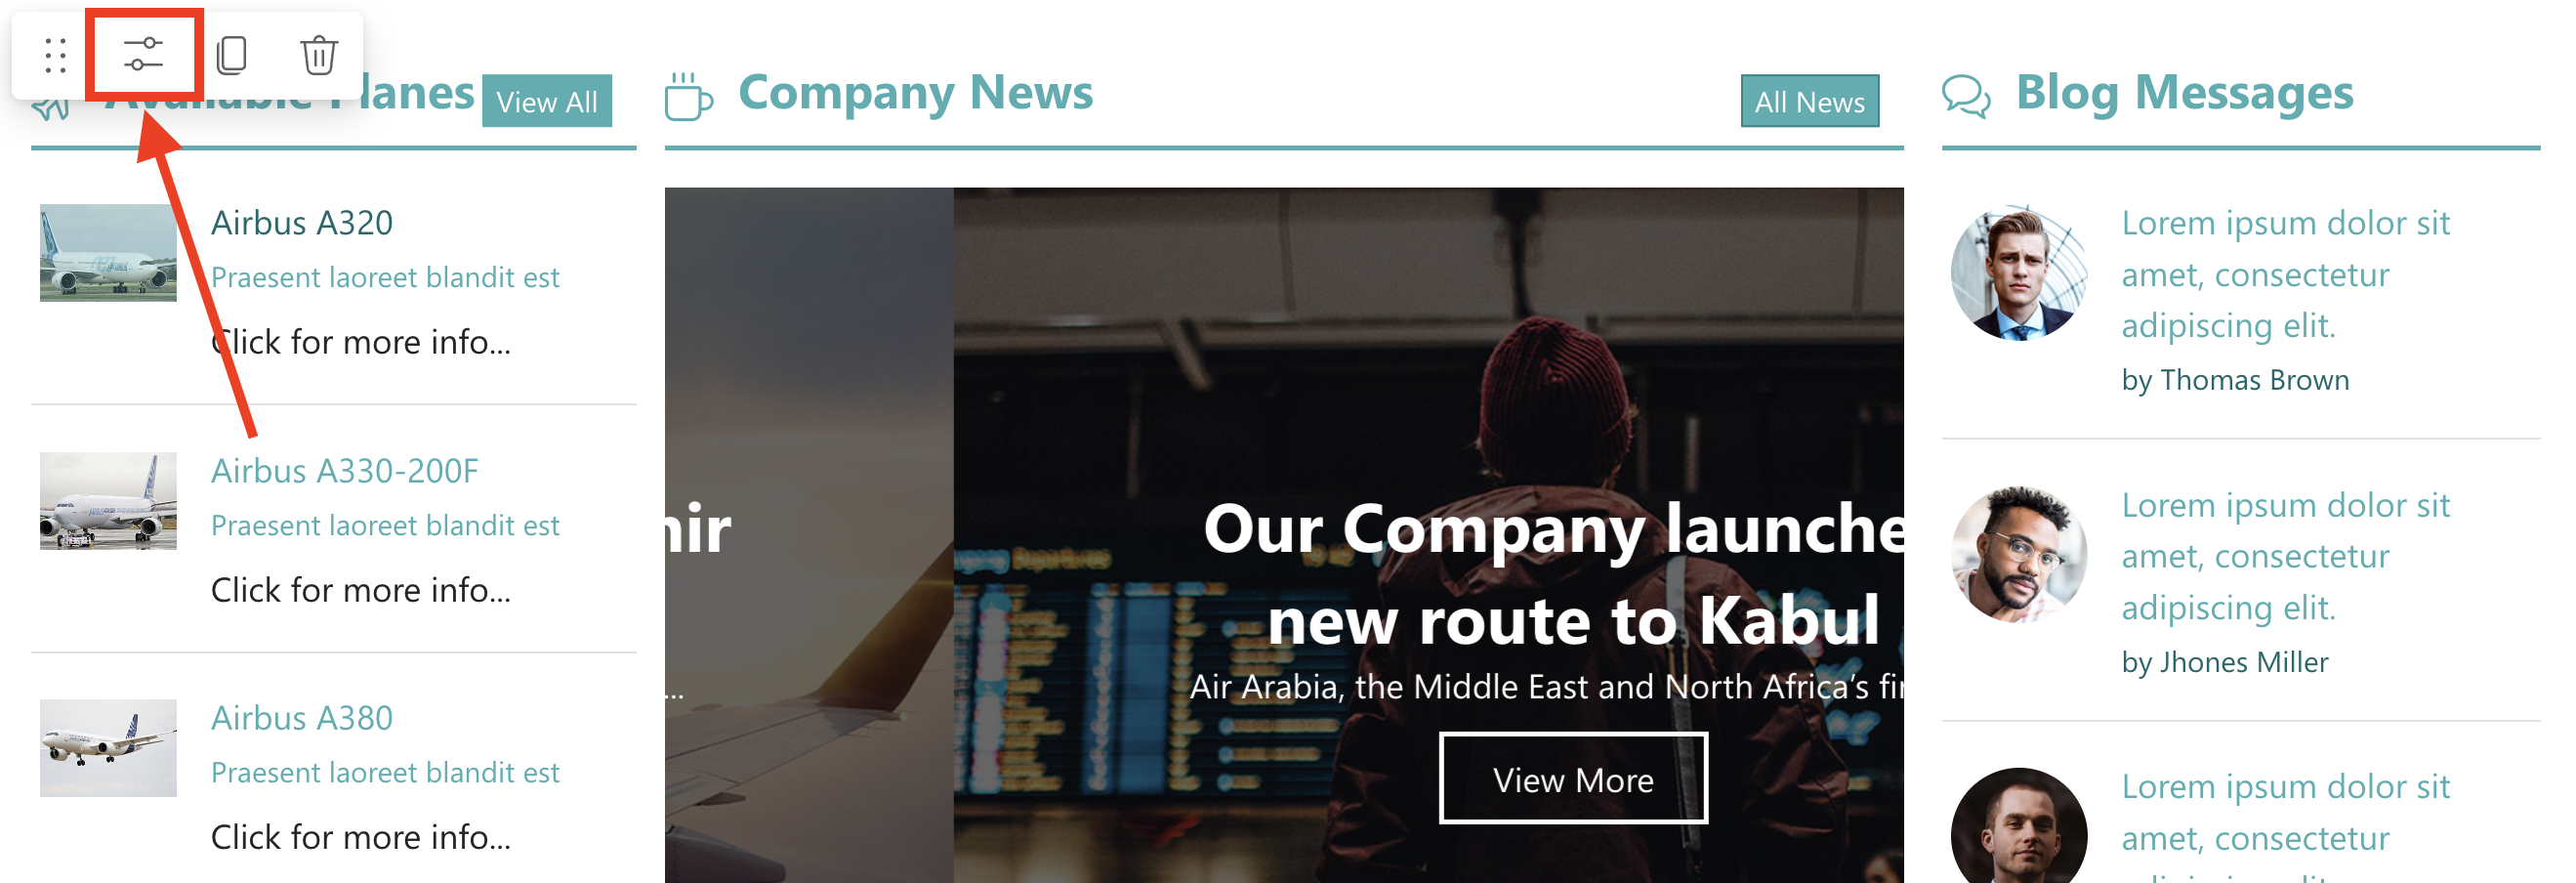
- Select the ShortPoint tag.
- Click the Edit Properties icon:
Step 3: Insert the ShortPoint Code Design Element
- Choose where you want to add the Code Design Element and click the plus icon to see the library of Design Element:
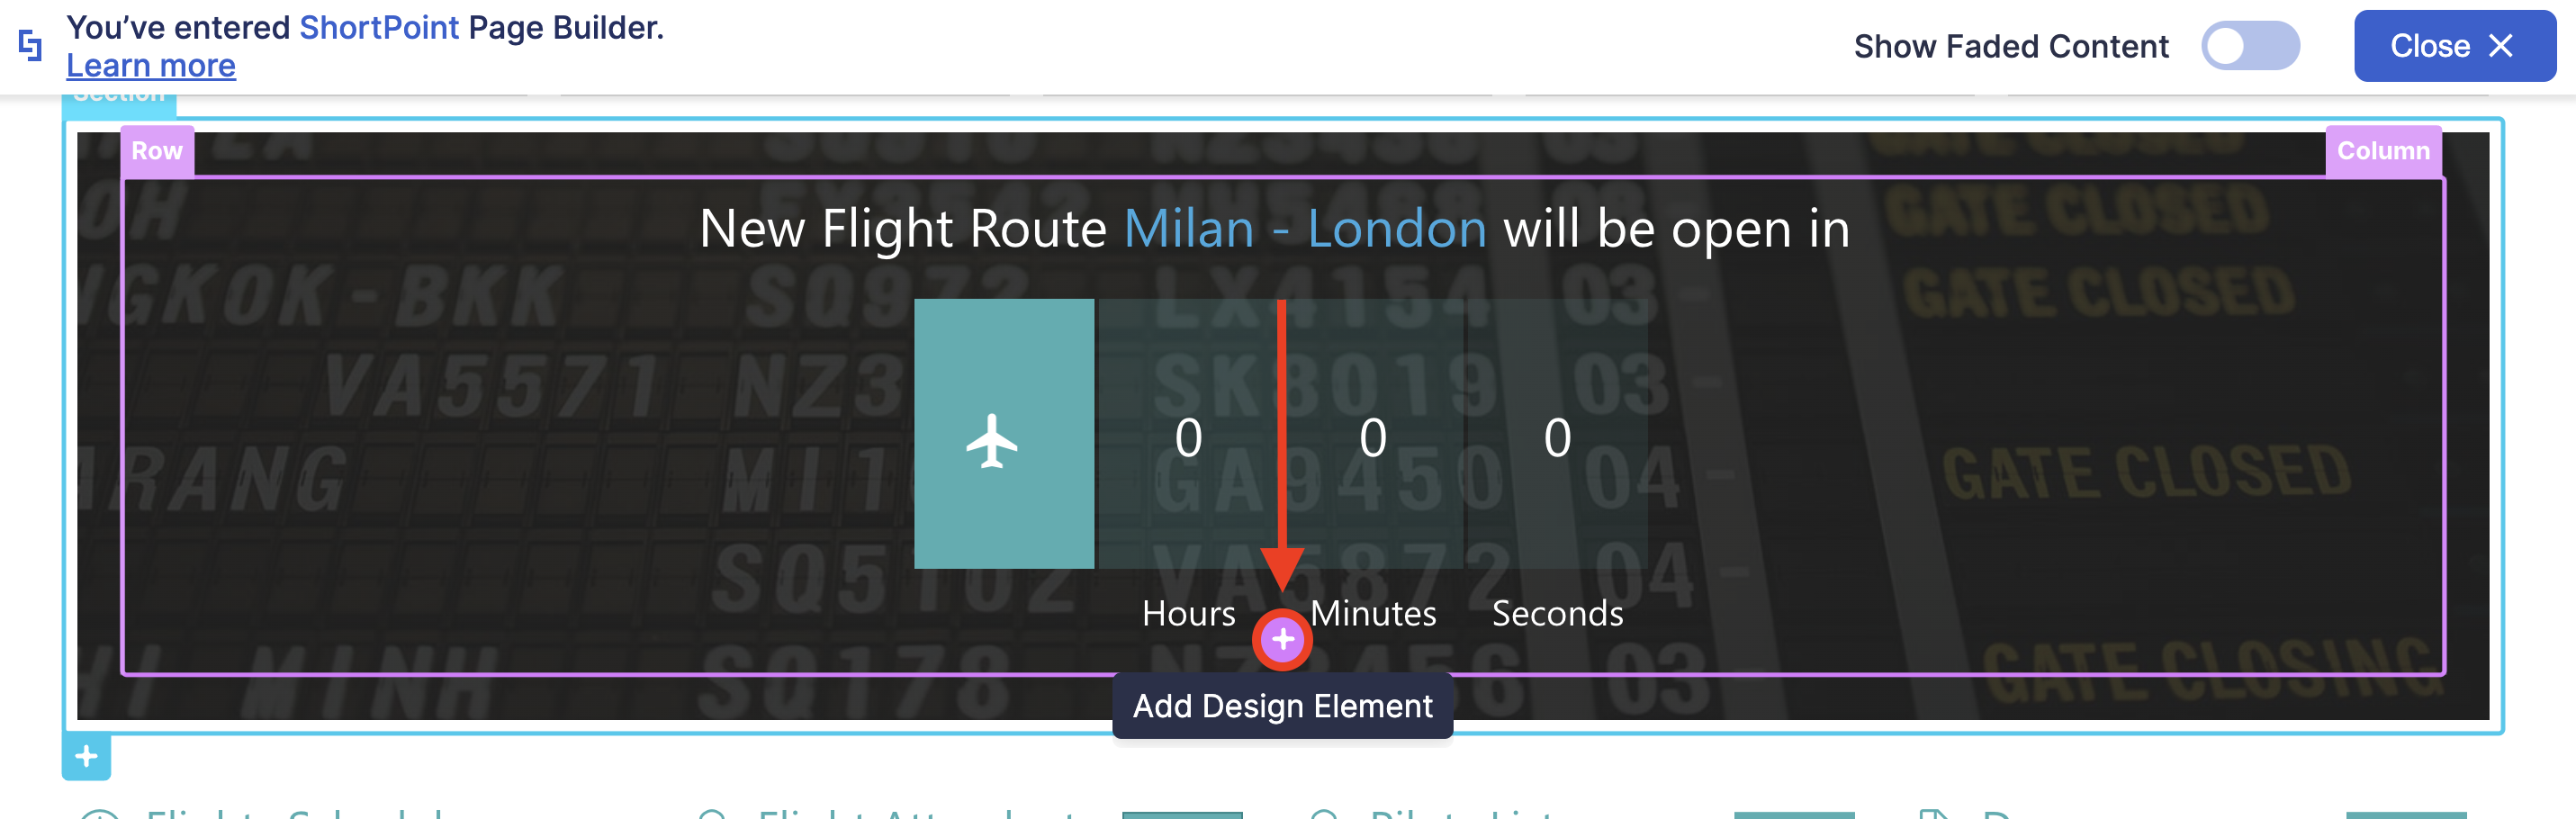
- Look for Code using the search bar and select it.
Step 4: Paste Embed Code
- Paste the code in the HTML field and customize it according to your needs:
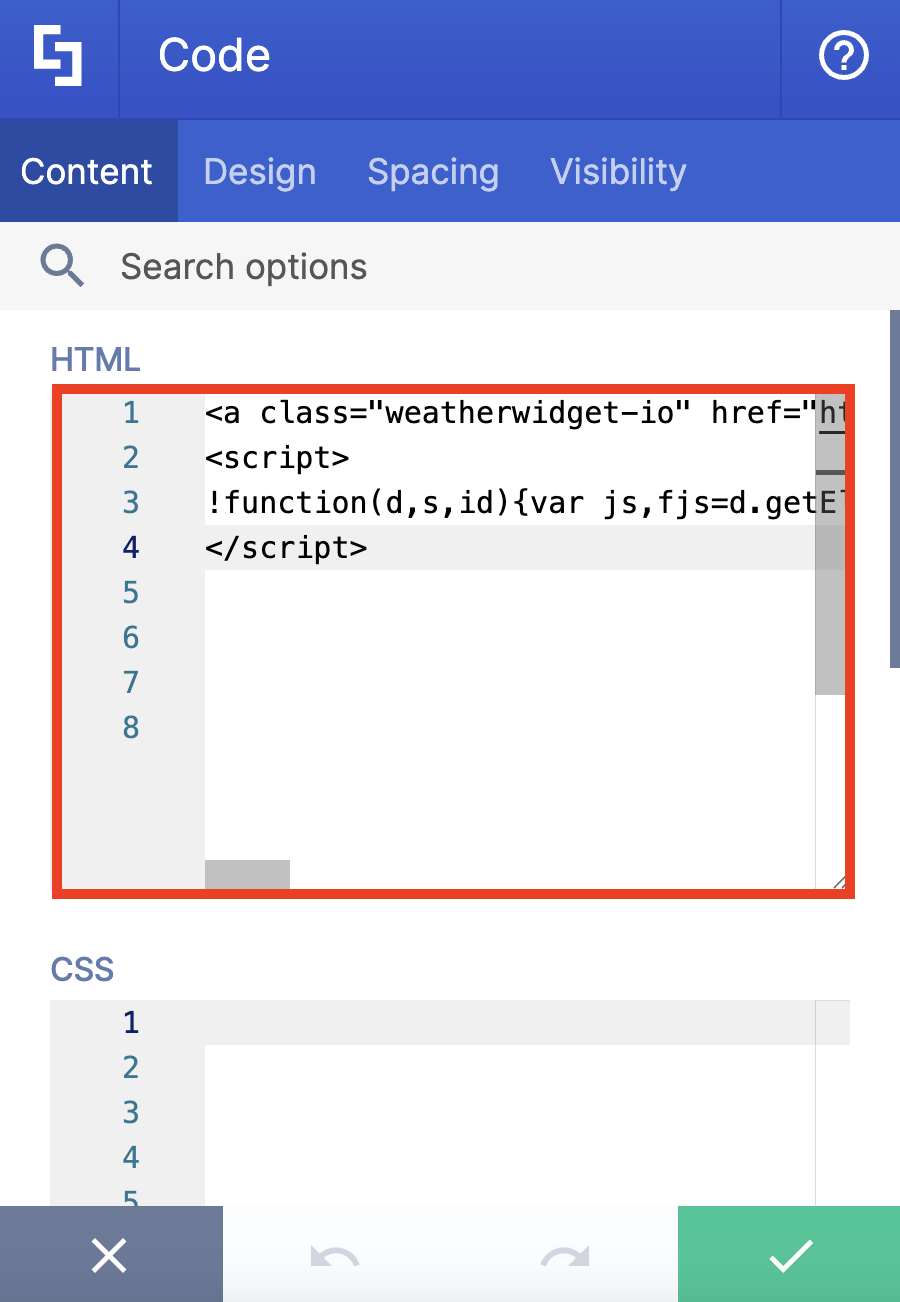
Step 5: Save
- Click the green check mark to apply your changes.
- Click the eye icon to see your page in real-time:

- Click Save to keep your changes:

That’s it! You now have a weather widget on your SharePoint page.
Authorizing External Scripts
Since most weather widgets are from external sources, you must add the source domain to the Trusted Script Sources list in your SharePoint Admin Center. This step is required to ensure the script runs correctly under SharePoint's Content Security Policy (CSP).
For detailed instructions, please follow the "How to Add Trusted Source URLs" section in our Managing Trusted Script Sources for JavaScript Customizations in ShortPoint article.
Related articles:
- How to use jQuery with the ShortPoint Code Design Element
- How to Add a Background Image to the Page Header Using the ShortPoint Code Design Element
- How to Embed a Chat Widget Using the ShortPoint Code Design Element
- How to Embed a YouTube Video Playlist into a Modern SharePoint Page Using the Code Design Element
- How to Embed a Vimeo Video Playlist into a Modern SharePoint Page Using the Code Design Element
- How to Embed the Microsoft Stream Video into a SharePoint Page