Try ShortPoint now
Ever used the “Flat” style for your Tiles Design Element? If you have, you know that it gives your page navigation a clean and modern look.
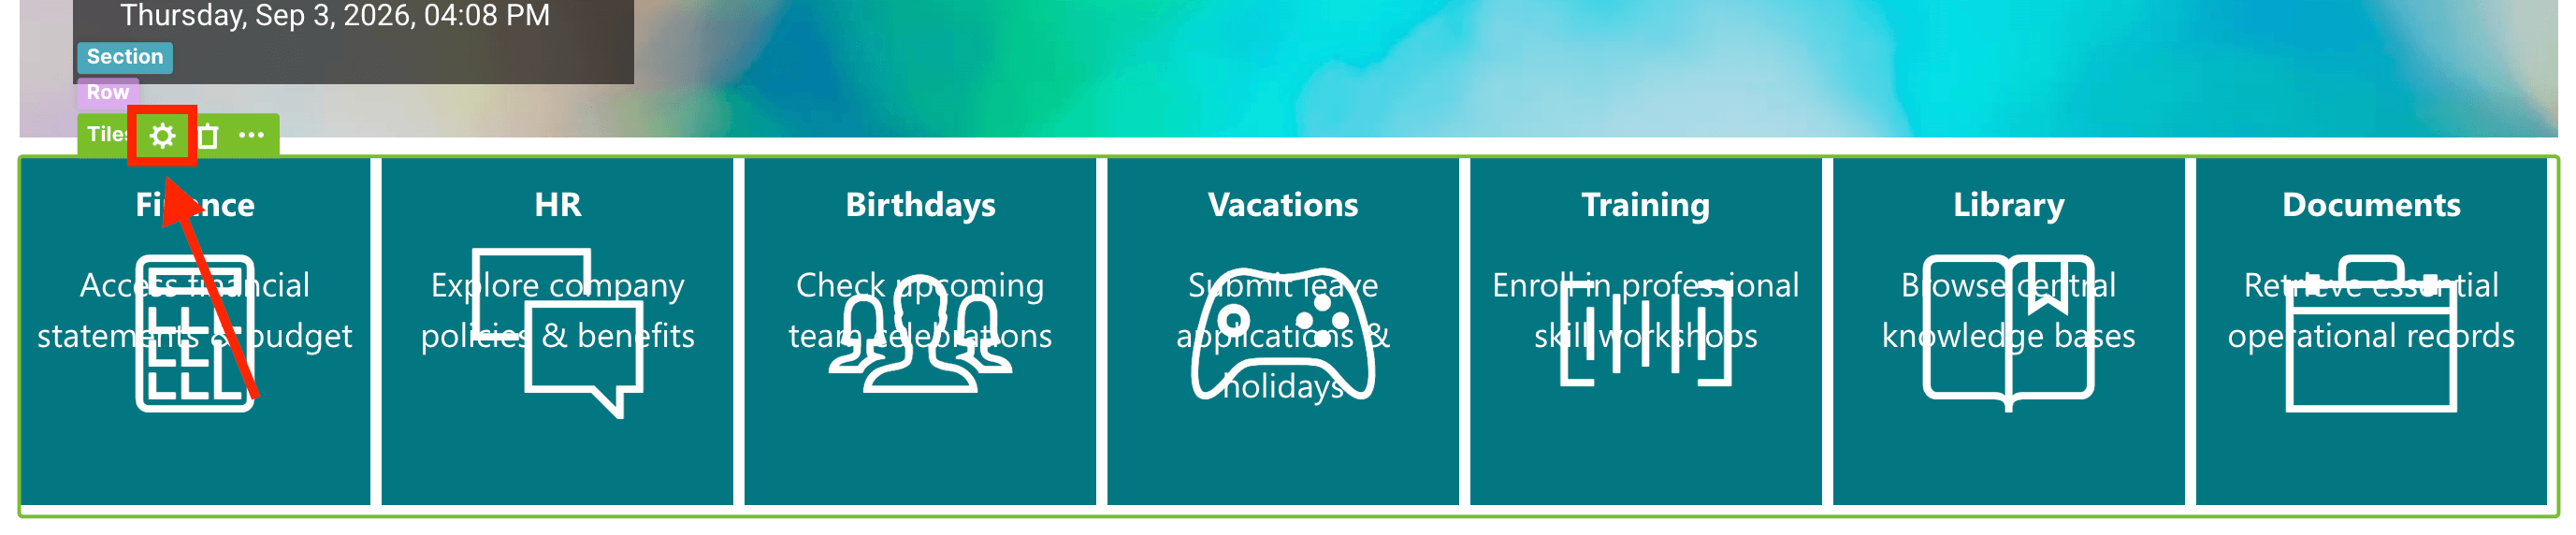
However, if a description is added to each tile, you’ll notice that it overlaps with the icons.

This article will show you how to use custom CSS to resolve this issue:

TABLE OF CONTENTS
- Prerequisites
- Interactive Tutorial
- Frequently Asked Questions
- How can I prevent the Tiles description from overlapping with the icon?
- What prerequisites are needed before applying the custom CSS?
- How do I edit the ShortPoint web part on a SharePoint page?
- What steps should I follow to modify the Tiles Design Element?
- What CSS properties can I change to fix the overlapping issue?
- How do I apply and save the custom CSS changes?
Prerequisites
- You must have the latest version of ShortPoint SPFx installed.
- You must be a ShortPoint Designer with an active license.
- You must already have a Tiles Design Element set to the Flat style with descriptions added.
Interactive Tutorial
Click Get Started for a step-by-step guide on how to fix the overlapping issue:
Below is the Custom CSS used in the interactive tutorial. You can modify it to fit your needs.
/* Modify the Description */
.shortpoint-tile-description {
  font-size: 13px !important;
  margin-top: -10px !important;
}

/* Modify the Icon */
.shortpoint-icon,
.shortpoint-icon:before,
.shortpoint-icon:after {
  font-size: 70px;
  position: relative;
  top: 5px;
}
Here’s a brief overview of what you can change in the code:
DESCRIPTION
- font-size - allows you to change the size of the description in px.
- margin-top - allows you to modify the top margin value between the title and the description.
ICON
- font-size - allows you to change the size of the icon in px.
- top - allows you to adjust the space between the description and the icon.
Step 1: Edit the ShortPoint web part
- Go to the SharePoint page you want to use and click Edit:

- Close the Toolbox:
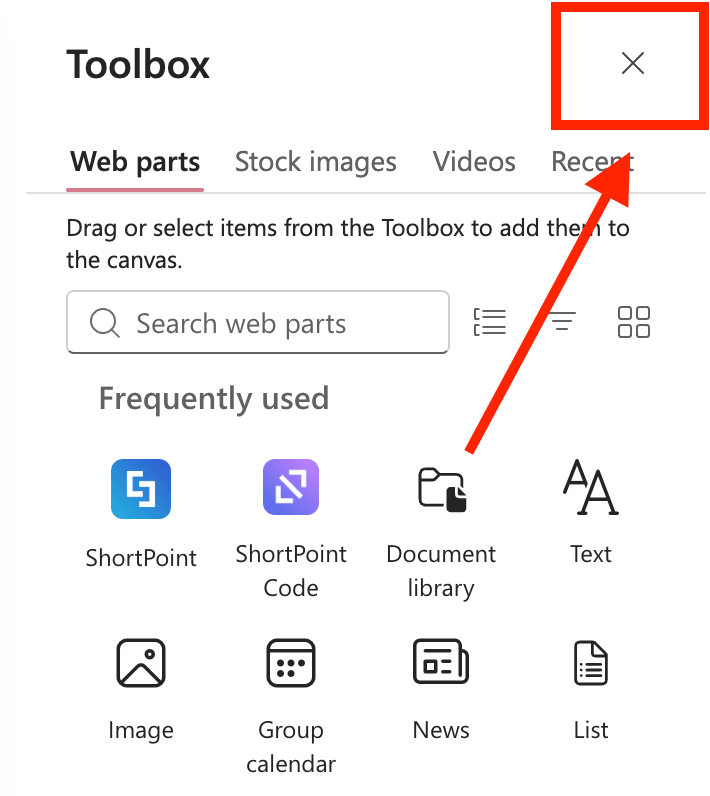
- Click the Edit Properties icon:

Step 2: Edit the Tiles Design Element
NOTEBefore proceeding, you must already have a Tiles Design Element set to the Flat style with descriptions added.
- Click the EasyPass tag of the Tiles Design Element:

- Select the cogwheel icon:
Step 3: Copy the Custom CSS
- Copy the custom CSS code and modify it to fit your needs.
/* Modify the Description */
.shortpoint-tile-description {
  font-size: 13px !important;
  margin-top: -10px !important;
}

/* Modify the Icon */
.shortpoint-icon,
.shortpoint-icon:before,
.shortpoint-icon:after {
  font-size: 70px;
  position: relative;
  top: 5px;
}
Here’s a brief overview of what you can change in the code:
DESCRIPTION
- font-size - allows you to change the size of the description in px.
- margin-top - allows you to modify the top margin value between the title and the description.
ICON
- font-size - allows you to change the size of the icon in px.
- top - allows you to adjust the space between the description and the icon.
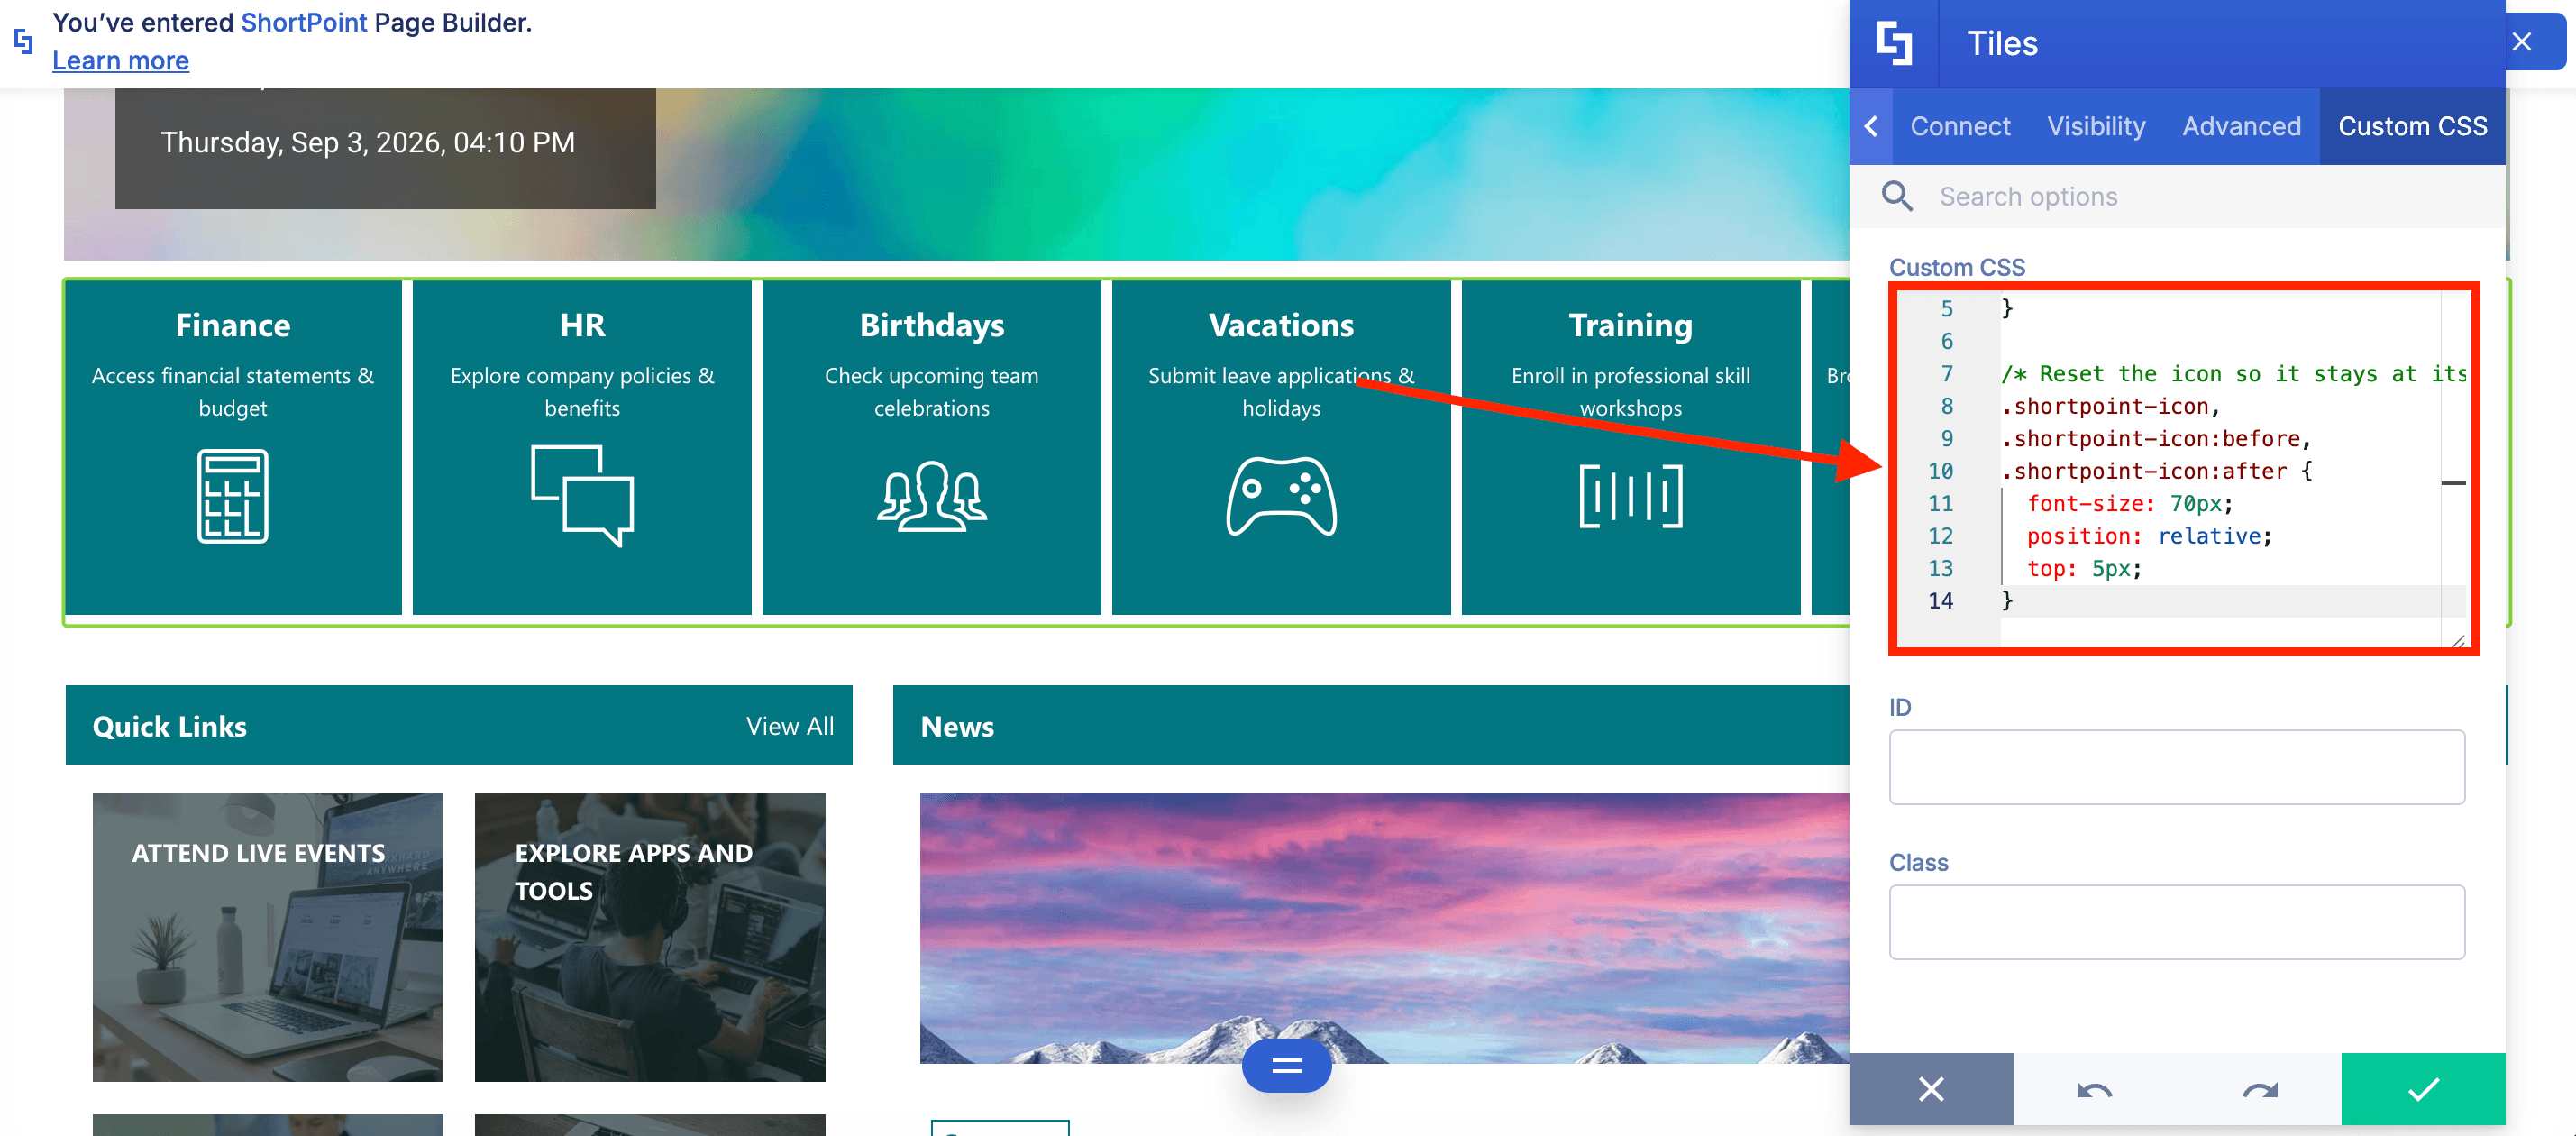
Step 4: Paste Code
- Go to the Custom CSS tab.
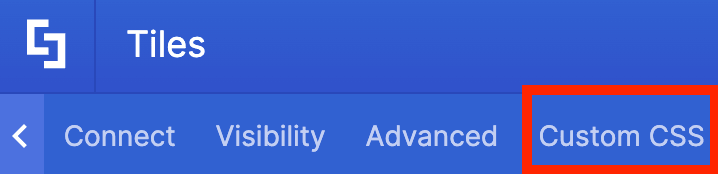
- Paste the code in the field provided:
Step 5: Save
- Click the green checkmark.

Save your changes:

- Publish your page:

That’s it! You’ve successfully modified the Tiles Design Element.
Frequently Asked Questions
How can I prevent the Tiles description from overlapping with the icon?
You can use custom CSS to adjust the font size and margin of the description and the size and position of the icon. The article provides specific CSS code to modify these elements.
What prerequisites are needed before applying the custom CSS?
You must have the latest version of ShortPoint SPFx installed, be a ShortPoint Designer with an active license, and already have a Tiles Design Element set to the Flat style with descriptions added.
How do I edit the ShortPoint web part on a SharePoint page?
Go to the SharePoint page and click Edit. Then close the Toolbox and click the Edit Properties icon to access the web part properties.
What steps should I follow to modify the Tiles Design Element?
Click the EasyPass tag of the Tiles Design Element, then select the cogwheel icon to open settings where you can paste the custom CSS.
What CSS properties can I change to fix the overlapping issue?
For the description, you can adjust font-size and margin-top. For the icon, you can change font-size and top to control spacing and size.
How do I apply and save the custom CSS changes?
Paste the custom CSS code into the Custom CSS tab, click the green checkmark to apply changes, then save and publish your page.
Related articles:
- How to Change the Hover Color of the Quick Links Design Element Using Custom CSS
- How to Change the Alignment of Content in the CTA Card Design Element
- How to Keep All Tiles in a Single Row Using Custom CSS